








Handy Heater Turbo Cleaning: How to Clean It Safely and Keep It Working

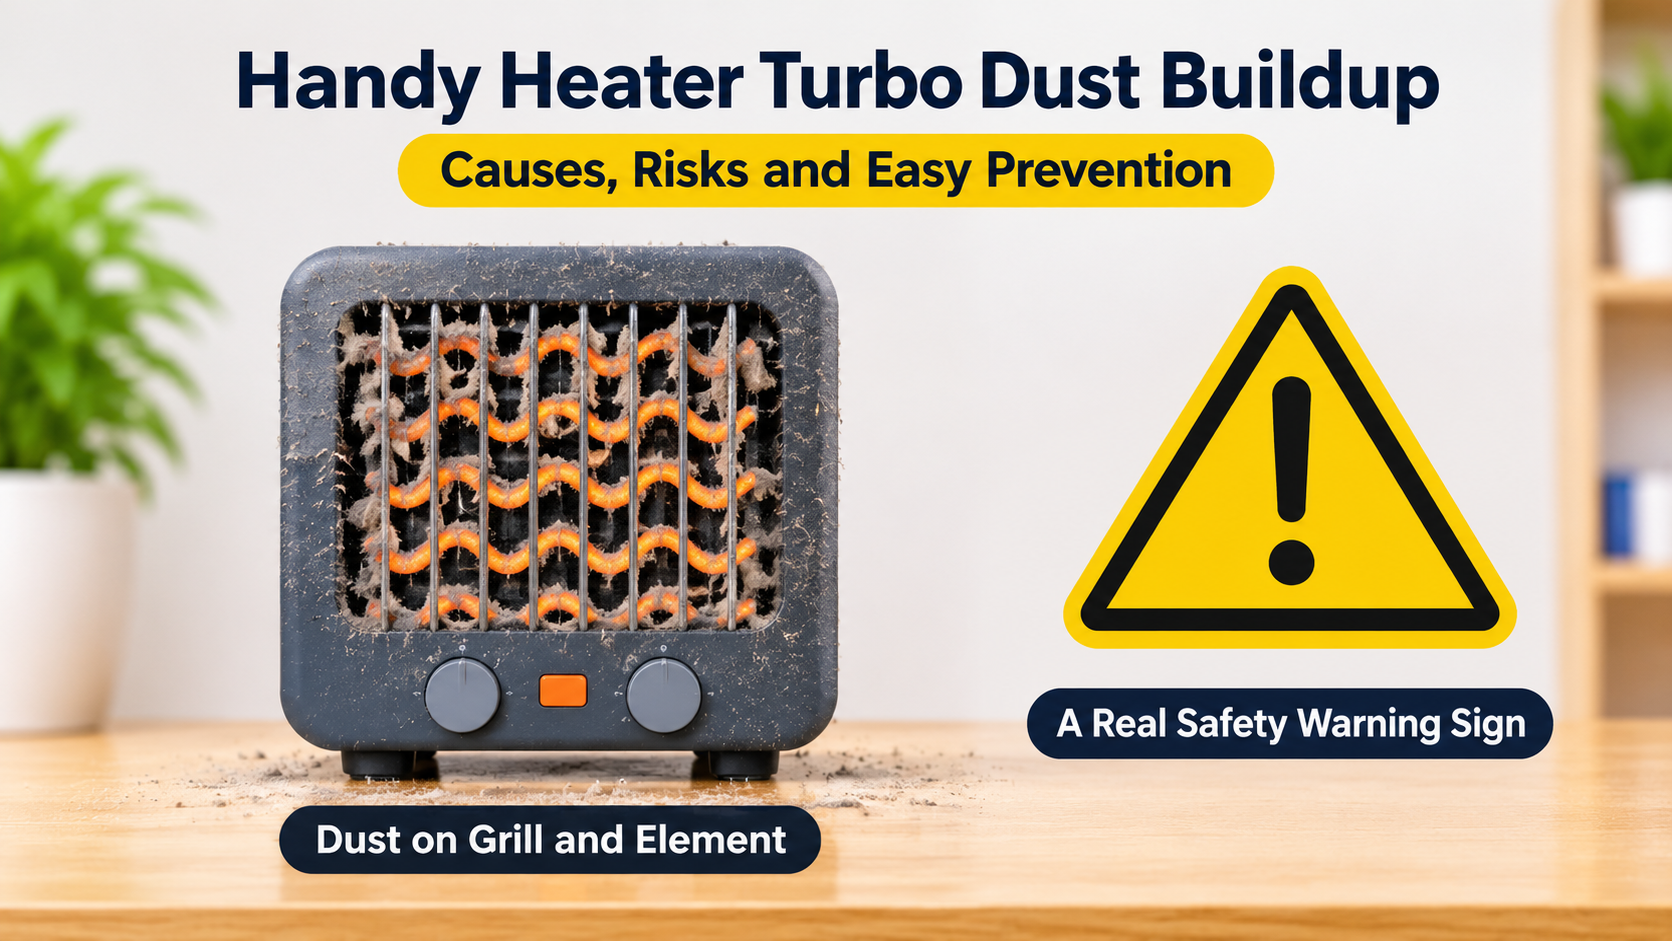
A handy heater turbo works hard all winter, and while it runs it pulls room air through the back and pushes it across a very hot element. Everything floating in that air, including dust, lint, pet hair and fine fibres from carpets and blankets, collects on the fan, the grill and the element. That is why a heater that felt great at the start of the season can start to smell, rattle, heat poorly or even switch off by itself after a few weeks.
The good news is that handy heater turbo cleaning is quick, cheap and needs no special skills. In this guide you will learn exactly how to clean it safely, what tools to use, what to avoid, how often to do it and how to store it properly after winter.
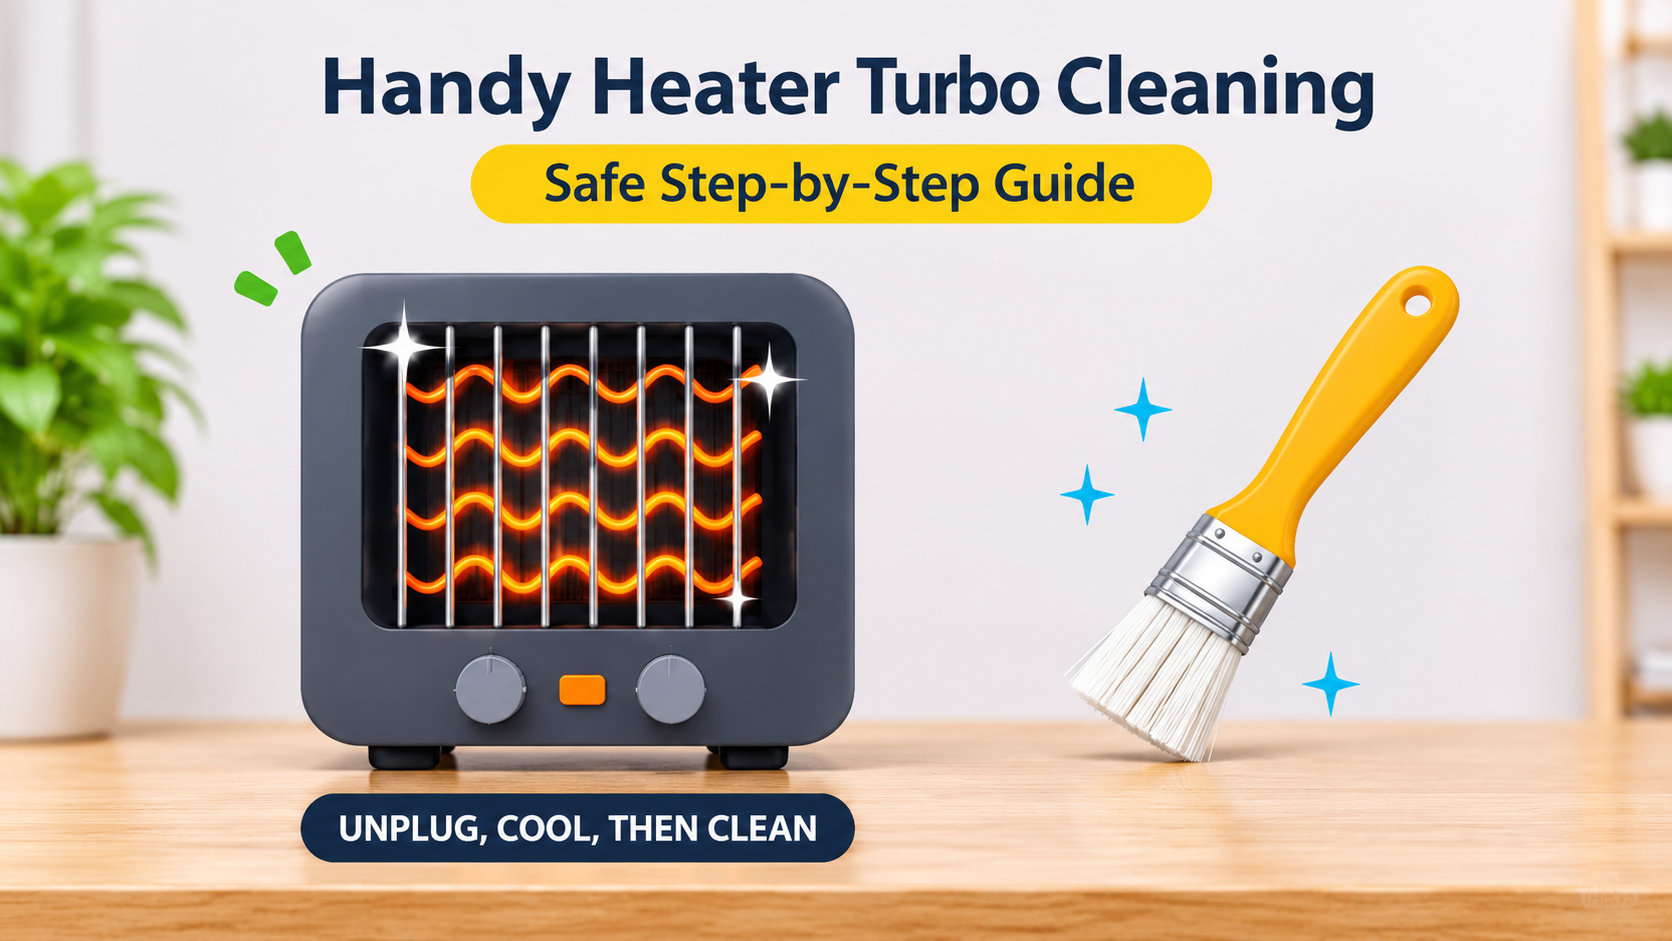
To clean a handy heater turbo: unplug it and let it cool completely, brush and vacuum dust from the grill and air intake, wipe the outside with a slightly damp cloth, let everything dry fully, then plug in and run a short test. Never pour or spray water into the heater, and never clean it while it is plugged in or hot.
- Why cleaning your heater matters
- Signs your heater needs cleaning
- Safety rules before you start
- Tools and supplies you need
- Where to clean on a handy heater turbo
- Step-by-step cleaning guide
- What not to do
- How often should you clean it?
- Troubleshooting after cleaning
- Storing your heater after winter
- Frequently asked questions
- Final summary
Why Cleaning Your Heater Matters
Cleaning is not just about appearance. A dirty heater has real problems:
- Safety: Dust and lint that build up near a hot element can burn, create smoke and, in the worst case, become a fire risk.
- Performance: A clogged air intake or grill restricts airflow, so the heater delivers less warm air and the room warms more slowly.
- Overheating: Blocked airflow makes internal parts hotter than designed, which can trigger the safety cut-off or shorten the life of the heater.
- Smell and air quality: Burning dust gives off that familiar “heater smell” and spreads small particles through the room, which is unpleasant for anyone with sensitive airways.
- Noise: A fan loaded with dust becomes unbalanced and may rattle, hum or whine.
- Electricity use: A heater that struggles to heat the room runs for longer, which costs more.
Signs Your Heater Needs Cleaning
Do not wait until the end of the season. Clean your handy heater turbo if you notice any of these:
- Visible dust, lint or hair on the grill or air intake
- A burnt-dust smell when it warms up
- Weaker airflow than before
- Louder fan noise, rattling or humming
- The heater feels hotter than usual on the outside
- It turns itself off during use
- A grey or sticky layer on the housing or switches
Safety Rules Before You Start
- Switch off and unplug the heater from the wall socket first. Pull the plug itself, not the cord.
- Let it cool completely. Wait at least 30 minutes after use. The element, grill and body stay hot for a while.
- Keep your hands dry and work on a dry surface, away from water.
- Do not open the housing unless your user manual specifically allows it. Opening the casing can expose live parts and may void the warranty.
- Do not use a damaged heater. If you see a cracked body, a frayed cord or a burnt plug, stop and contact the seller or a qualified technician.
Tools and Supplies You Need
| Tool | What it is for |
|---|---|
| Soft brush (paintbrush or clean dust brush) | Loosening dust from the grill bars, fins and air intake |
| Vacuum cleaner with brush or crevice attachment | Pulling loose dust and lint out of the intake and grill |
| Dry microfibre cloth | Wiping the grill and body dry and removing fine dust |
| Slightly damp cloth (wrung out well) | Cleaning marks and grime from the outer body only |
| Cotton swabs or a soft toothbrush | Cleaning tight corners, knobs and gaps between grill bars |
| Mild soap diluted in water (optional) | Removing stubborn marks from the plastic body, applied with a damp cloth |
| Compressed air can (optional) | Blowing dust out of tight spaces, used from a distance and in short bursts |
Where to Clean on a Handy Heater Turbo
Dust collects in a few predictable places. This diagram shows the main areas to focus on and which tool suits each one.
Step-by-Step Cleaning Guide
Step 1: Unplug and let it cool
Switch the heater off, pull the plug out of the wall socket and wait at least 30 minutes. Move it to a flat, well-lit spot such as a table or the floor on newspaper or a cloth so you can catch falling dust.
Step 2: Brush off loose dust
Use a soft brush to sweep dust away from the front grill, between the bars and around the knobs. Work gently in one direction, from the centre outwards, so that dust falls away from the heater rather than being pushed deeper inside. A clean paintbrush works very well here.
Step 3: Vacuum the grill and air intake
Switch to the vacuum cleaner with a soft brush or crevice attachment. Gently vacuum the front grill, then turn the heater around and spend the most time on the rear air intake, which is usually where most of the dust gathers. Hold the nozzle just above the surface instead of pressing hard, and avoid poking the element or the fan blades with the tool.
If you use compressed air, hold the can upright, keep it at a distance and use short bursts. Blow from the front side to push dust back out through the intake, and do this outdoors or in a ventilated space to avoid a dust cloud.
Step 4: Wipe the outer body
Dampen a microfibre cloth with water, then wring it out until it is only slightly damp, not wet. Wipe the outer plastic body, the knobs and the top surface. For stubborn marks, add a drop of mild soap to the water, then wipe again with a clean, damp cloth to remove soap residue. Use cotton swabs for tiny gaps around the switches.
Wipe the power cord with a dry cloth only, and take the chance to look for cuts, kinks or discolouration. Check the plug pins for dark marks or rough patches, which can indicate a loose connection or overheating.
Step 5: Dry completely
Use a dry microfibre cloth to wipe the heater, then leave it to air-dry in a ventilated space for at least an hour. The heater must be completely dry, with no damp patches on the grill, knobs or plug, before it goes anywhere near a socket.
Step 6: Plug in and test
Place the heater back on a flat, hard surface with at least 1 metre (3 feet) of clear space around it, and plug it directly into a healthy wall socket. Run it on the lowest setting for a few minutes and stay in the room. A very faint smell from tiny leftover dust is normal and should fade quickly. Then move to the normal setting.
Do a quick 60-second dust-off every week during heavy use: unplug, wait for it to cool, and run a soft brush or vacuum nozzle over the front grill and rear intake. A little often is much better than a big clean once a season.
What Not to Do
Avoid these mistakes
- Cleaning while it is plugged in or still hot
- Pouring, spraying or dipping the heater in water
- Using a dripping wet cloth near vents or switches
- Using harsh chemicals, solvents, petrol or abrasive scrubbers
- Opening the housing or removing screws without the manual’s approval
- Poking sharp objects into the grill or element
- Switching it on while still damp
Do this instead
- Unplug and let it cool for at least 30 minutes
- Use a slightly damp, well-wrung cloth on the outside only
- Use a soft brush, vacuum and dry cloth for the vents
- Use mild soap diluted in water, if needed
- Contact a technician for internal cleaning or repairs
- Use a soft brush or cotton swab for tight spots
- Let it air-dry fully before use
How Often Should You Clean It?
The right schedule depends on how often you use the heater and how dusty your home is. Use this as a general guide:
| Situation | Quick dust-off | Full clean |
|---|---|---|
| Daily use through winter | Weekly | Every 2 to 4 weeks |
| A few times a week | Every 2 weeks | Monthly |
| Dusty home, pets, carpets or construction nearby | Every few days | Every 2 weeks |
| Occasional use | Before each season starts | Before and after the season |
Troubleshooting After Cleaning
| Problem | Likely cause | What to do |
|---|---|---|
| Slight burning smell after cleaning | Tiny leftover dust or lint burning off | Ventilate the room and run on low for a few minutes. It should fade quickly. |
| Strong smell, smoke or sparks | Moisture, damage or an electrical fault | Switch off, unplug if safe, and do not use it until checked by a technician. |
| Heater will not turn on | Socket off, loose plug or tip-over switch triggered | Check the socket, confirm the heater stands upright on a flat surface, and try again once completely dry. |
| Fan still noisy | Dust stuck on fan blades or a loose part | Unplug, cool, vacuum the intake again. If the noise stays, have it inspected. |
| Still turns itself off | Overheat protection or internal dust build-up | Clean intake and grill again and clear space around it. If it persists, stop using it and get it checked. |
Storing Your Heater After Winter
Good storage keeps the heater ready for next year and avoids a dusty, damp surprise.
- Do a full clean using the six steps above.
- Dry it completely so no moisture is trapped inside.
- Loosely wrap the cord. Do not wind it tightly or bend it sharply, as that can damage the wires over time.
- Cover or box it. Use the original box or a clean cloth or plastic cover to keep dust out.
- Store it in a cool, dry place, away from damp walls, leaks and direct sunlight, and where nothing heavy can crush it.
- Test it before next winter. Plug it in, run it for a few minutes on low and check the smell, noise and warm airflow.
Frequently Asked Questions
How do I clean the inside of a handy heater turbo?
For most users, cleaning the grill and air intake with a soft brush and vacuum is enough. Do not open the casing unless your manual says it is safe. If you suspect heavy dust inside, take it to a qualified technician.
Can I wash a handy heater turbo with water?
No. Never pour, spray or immerse an electric heater in water. Use only a slightly damp, well-wrung cloth on the outside, and dry it fully afterwards.
Why does my heater smell like burning dust?
Dust and lint on the element or inside the vents burn off when the heater warms up. A light smell at the start of the season is common. Cleaning the grill and intake usually fixes it. If the smell is strong, smoky or does not go away, stop using it and get it checked.
Can I use a hair dryer or compressed air to clean it?
Compressed air can help in short bursts from a safe distance. A hair dryer is not recommended because it can push dust deeper inside and may spin the fan unevenly. A vacuum cleaner with a brush attachment is the safer and more effective option.
How long should I wait before using the heater after cleaning?
If you only used a vacuum and dry brush, you can plug it in as soon as everything is back in place. If you wiped it with a damp cloth, let it air-dry for at least an hour and make sure there are no damp spots.
Does cleaning the heater save electricity?
It can help. Clean vents and a free-spinning fan allow better airflow, so the heater warms the room more effectively and does not have to run as long to reach a comfortable temperature.
Is it safe to clean the heater while it is still warm?
No. Always unplug it and let it cool completely, at least 30 minutes, before you touch the grill or body. The element and the metal parts stay hot for some time after use.
When should I stop cleaning and call a professional?
Contact a qualified technician if the heater has a damaged cord or plug, a cracked body, a persistent burning smell, trips the breaker, switches off by itself even after cleaning, or makes unusual noises that do not go away.
Final Summary
A clean handy heater turbo is safer, quieter, smells better and warms your room more effectively. Remember these key points:
- Unplug and cool first: never clean a plugged-in or hot heater.
- Brush and vacuum the grill and rear intake: these are the main dust traps.
- Use a slightly damp cloth on the outside only: keep water away from the inside, the switches and the plug.
- Dry completely before use: then do a short supervised test run.
- Clean regularly: a weekly dust-off and a fuller clean every few weeks during heavy use.
- Store it clean and dry: ready for the next winter.
Spend a few minutes on cleaning now and your handy heater turbo will repay you with reliable warmth, fewer problems and a longer life.