
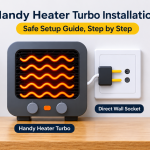
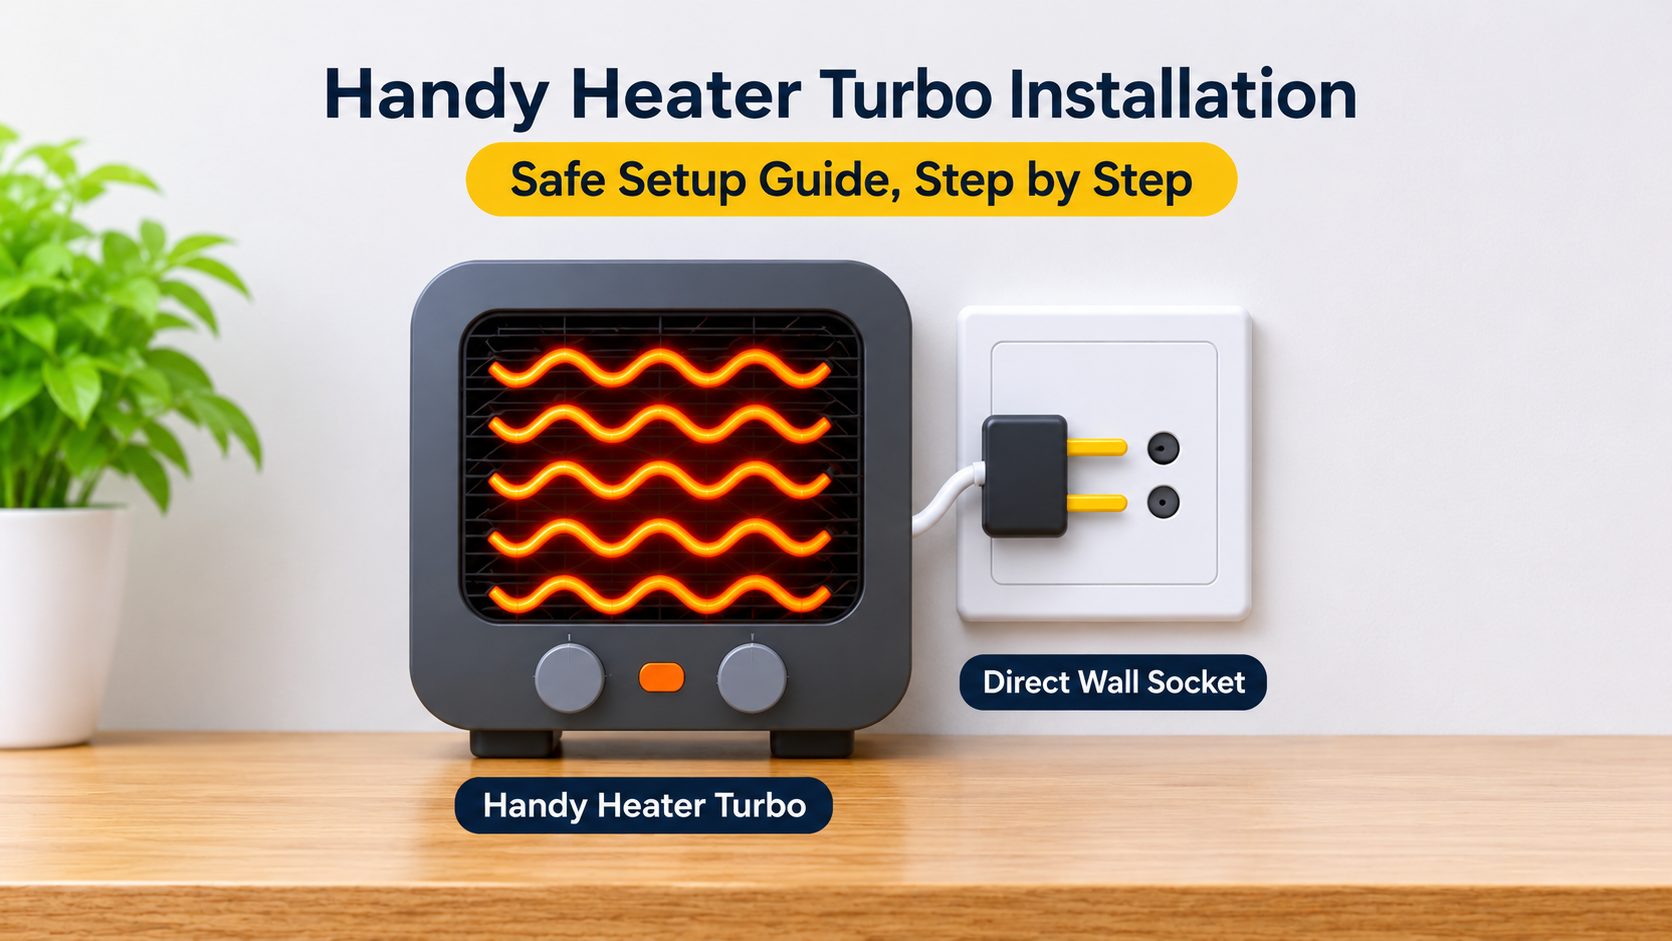
Handy Heater Turbo Installation: Safe Setup Guide, Step by Step

A handy heater turbo is one of the easiest room heaters to set up. There is no pipe to fit, no gas connection and usually no tools needed. Even so, “easy” does not mean “careless”. Most heater accidents come from small setup mistakes: a wrong socket, a loose plug, an extension cord, or a heater placed too close to a curtain or bed.
This guide walks you through the complete handy heater turbo installation process: what to check in the box, where to place it, which socket to use, how to do the first test run, and how to fix common first-use problems. Follow these steps and you will be warm and safe from day one.
To install a handy heater turbo: unbox and inspect it, read the label for voltage and wattage, choose a flat spot with at least 1 metre (3 feet) of clear space, plug it directly into a healthy wall socket (no extension cord), start on the lowest setting, then increase to turbo only after a short safe test run.
- What you need before you start
- Step-by-step installation overview
- Step 1: Unbox and inspect
- Step 2: Read the label (voltage and wattage)
- Step 3: Choose the right location
- Step 4: Check your wall socket and power supply
- Step 5: Plug in and do the first test run
- Step 6: Set up for daily use
- What not to do: extension cords and bad spots
- First-use smell and common problems
- Maintenance after installation
- Frequently asked questions
- Final summary
What You Need Before You Start
You do not need a toolbox for this job. Gather these simple items first:
- The heater and everything in the box (heater body, user manual, any stand or feet, if supplied)
- A dry, soft cloth to wipe off dust from packaging
- A healthy wall socket that is not loose, burnt or cracked
- A flat, hard floor or sturdy surface
- Your user manual, which has model-specific instructions that always come first
Every brand and model is slightly different. If anything in this guide differs from the manual that came with your heater, follow the manual.
Step-by-Step Installation Overview
The diagram below gives you the whole process at a glance. The sections after it explain each step in detail.
Step 1: Unbox and Inspect
Take the heater out of the box and put it on a table or the floor. Before you plug anything in, spend two minutes looking it over:
- Body and grill: no cracks, dents or loose parts
- Power cord: no cuts, bare wires, kinks or crushed sections
- Plug: pins straight and solid, no burn marks, no wobble in the plug body
- Switches and knobs: they should move smoothly and not feel loose
- Fan: turn it gently by looking through the grill; nothing should be rubbing or blocking it
If you find any damage, do not use the heater. Contact the seller for a replacement or repair. A damaged cord or plug is a fire and shock risk and is never worth trying.
Step 2: Read the Label (Voltage and Wattage)
Look for the rating label on the back or bottom of the heater. It usually shows two important numbers:
- Voltage (V): the supply the heater is designed for. This must match your home’s supply. Using the wrong voltage can damage the heater or create a danger.
- Power (W): how much electricity it draws. A higher number means more heat but also a higher load on your wiring and a bigger electricity bill.
Heaters pull a lot of current compared with most household devices. You can estimate the current with this simple formula:
Current (amps) = Power (watts) ÷ Voltage (volts)
| Heater power | Approx. current at 230 V | Approx. current at 120 V |
|---|---|---|
| 1000 W | 4.3 A | 8.3 A |
| 1500 W | 6.5 A | 12.5 A |
| 2000 W | 8.7 A | 16.7 A |
This is why a heater should never share a weak socket, thin extension cord or overloaded multi-plug with other devices. Higher-power settings place a heavier load on the wiring, so make sure the socket and circuit are in good condition and rated for it. If you are unsure, ask a qualified electrician to check.
Step 3: Choose the Right Location
Placement is the most important part of heater installation. The right spot makes the heater work better and keeps your home safe.
The ideal spot
- Flat and hard surface: a tiled or wooden floor or a sturdy stable base. Never on a bed, sofa, thick carpet pile or an uneven surface.
- At least 1 metre (3 feet) of clear space on the front and sides, and clear space above it.
- Close to a wall socket so the cord can reach without being stretched or crossing a walkway.
- Away from foot traffic so nobody trips on the cord or knocks the heater over.
- Good airflow: not tucked behind furniture or pushed against a wall.
Spots to avoid
- Under or next to curtains, beds, sofas, clothes, paper or any soft or flammable item
- Bathrooms, near sinks, showers or any place where water can splash onto it (unless the product is specifically made and rated for that)
- Small closed cupboards or crowded corners
- Places where children or pets can easily reach or knock it over
Step 4: Check Your Wall Socket and Power Supply
A heater is a high-power appliance, so the socket matters as much as the heater itself. Before plugging in, check:
- Socket condition: no cracks, discolouration, burn marks or loose fit. The plug should go in firmly and not wobble.
- Plug type match: the plug should fit the socket naturally. Never force a plug into a socket and avoid using unsafe adapters.
- No other heavy loads on the same line: avoid running an air conditioner, iron, geyser or another heater on the same circuit at the same time, if you can help it.
- Earthing (grounding): if your heater has a three-pin plug, use a properly earthed socket.
- Circuit protection: a circuit breaker or fuse of the correct rating protects your wiring. If the breaker trips repeatedly, stop using the heater and have the wiring checked.
Heaters draw a heavy, constant current. A thin or long extension cord can overheat, melt and start a fire, even if it feels fine at first. Plug the heater directly into a wall socket. If your socket is too far away, ask an electrician to add a proper socket instead of using a cord.
Step 5: Plug In and Do the First Test Run
With the heater placed and the socket checked, you are ready for the first test. Take it slowly.
- Make sure all switches are off before you plug the heater in.
- Push the plug fully into the socket and switch the socket on, if it has its own switch.
- Start with the fan-only mode (if your model has one) for a minute to confirm the fan spins freely and quietly.
- Switch to the lowest heat setting. After a minute or two, you should feel warm air coming from the front.
- Check the plug and socket by carefully touching the plug body after about 10 minutes. It may be slightly warm, but it should never be hot. If it is hot, switch off, unplug and have the socket and wiring checked.
- Try the higher (turbo) setting only after a successful low-setting test. Stay in the room and watch for unusual smells, noises or heat.
- Test the safety features that your model has, such as the thermostat knob or tip-over switch, as described in the manual.
Do not leave the room during the first test. Being there lets you react quickly if something does not feel right.
Step 6: Set Up for Daily Use
Once the test is finished, a few habits make everyday use safe and efficient:
- Warm the room, then lower the setting. Use turbo for the first few minutes, then switch to a lower setting.
- Switch off at the heater and unplug when leaving the room for a long time.
- Do not leave it running while you sleep or leave home unless your model has reliable auto shut-off and safety protection.
- Keep the cord straight. Do not coil it tightly while in use, trap it under furniture or run it under a rug.
- Keep the room ventilated. Open a window a little from time to time.
- Keep children and pets away. Make sure the heater is stable and out of easy reach.
What Not to Do
Avoid these mistakes
- Using an extension cord or crowded multi-plug
- Placing the heater on a bed, sofa or thick rug
- Drying clothes on or near the heater
- Covering the grill or blocking airflow
- Using a damaged cord, plug or switch
- Plugging in with wet hands
Do this instead
- Plug directly into a healthy wall socket
- Place it on a flat, hard, stable surface
- Use a proper clothes rack away from the heater
- Keep the grill and sides clear
- Replace or repair damaged parts before use
- Dry your hands first and keep water away
First-Use Smell and Common Problems
New heaters often behave a little oddly in their first hours. Most of these things are normal, but some are warning signs.
| Problem | Likely cause | What to do |
|---|---|---|
| Light burning smell on first use | Manufacturing residue or dust burning off the new element | Run on low in a ventilated room for a short while. If it is strong or does not fade, switch off and contact the seller. |
| Strong burning or melting smell, smoke or sparks | Electrical fault, damaged part or poor socket connection | Switch off and unplug immediately if safe to do so. Do not use again until checked. |
| Heater does not turn on | Socket off, loose plug, tripped breaker or tip-over switch triggered | Check the socket and breaker, make sure the heater stands upright on a flat surface, then try again. |
| Fan runs but air stays cool | Heat setting not selected, thermostat set too low or a fault in the element | Turn the heat selector up and the thermostat higher. If still cool, stop using and get it checked. |
| Heater switches off by itself | Overheat protection or thermostat reaching its set point | Check for a blocked grill or dust, clear space around it, and let it cool before restarting. |
| Loud rattling or humming | Loose part, dust in the fan or uneven surface | Switch off, unplug, let it cool, clean the grill gently and move it to a flat surface. |
| Plug or socket feels hot | Loose connection, worn socket or overloaded circuit | Stop at once and have a qualified electrician inspect the socket and wiring. |
| Breaker keeps tripping | Overloaded circuit or an internal fault | Do not keep resetting it. Use a different healthy circuit only if advised by an electrician, or have the heater checked. |
Maintenance After Installation
Good installation is only the start. A little regular care keeps the heater working properly and safely all winter.
- Unplug and let it cool before any cleaning.
- Dust the grill and air intake with a soft brush or a dry cloth every few weeks of heavy use.
- Do not use water directly on the heater’s inside parts or spray liquids into it.
- Inspect the cord and plug regularly for wear, kinks or discolouration.
- Store it properly at the end of winter: clean, dry, in its box or a dust-free spot, with the cord loosely wrapped.
Frequently Asked Questions
Does a handy heater turbo need professional installation?
No. It is a plug-in portable heater, so normal setup needs no tools or professional work. You only need an electrician if your socket, wiring or breaker is not in good condition or if you want a new socket added.
Can I use an extension cord with my handy heater turbo?
It is strongly recommended not to. Heaters draw high current, and extension cords and multi-plugs can overheat. Plug the heater straight into a healthy wall socket.
Can I mount a handy heater turbo on the wall?
Only if your specific model is designed and approved for wall mounting and comes with the proper bracket and instructions. Most handy heaters are made to stand on the floor, so check your manual before drilling anything.
Where is the best place to put it in a bedroom?
Choose a flat floor spot with at least 1 metre of clear space, away from the bed, bedding and curtains, and close to a wall socket so no extension cord is needed.
Why does my new heater smell when I switch it on?
A mild smell in the first few uses is common because of manufacturing residue or dust on the new element. Ventilate the room and run it for a short time. If the smell is strong, smoky or does not go away, stop using it and contact the seller.
Can I use it in a bathroom?
Standard handy heaters are not designed for wet areas. Keep water away from electrical heaters, and only use a heater in a bathroom if it is specifically made and rated for that purpose.
How long should the first test run take?
Ten to fifteen minutes is enough for a good first test. Watch the plug, socket, smell and noise during this time, and stay in the room.
Is it safe to leave it on when I sleep?
It is best to switch it off. If your model has proper auto shut-off, overheat protection and tip-over protection, short, supervised use is safer, but a heater should not be left unattended in a bedroom.
Final Summary
Installing a handy heater turbo takes only a few minutes, but those minutes decide how safe and comfortable your winter will be. To recap:
- Inspect first: check the body, cord and plug for damage.
- Read the label: match the voltage and know the wattage.
- Place it well: flat, stable surface with 1 metre of clear space.
- Use a healthy wall socket: no extension cords or crowded multi-plugs.
- Test slowly: start low, stay in the room, and watch for heat, smell and noise.
- Use it wisely: turbo for a quick warm-up, then lower, and always switch off when you are not there.
Follow these steps and your handy heater turbo will give you quick, reliable warmth with peace of mind.