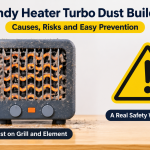

A portable electric heater is one of the hardest-working appliances in your home during the cold months. It runs for hours, pulls in air from the room, and pushes it back out as warmth. The problem is that the same air carries dust, pet hair, lint and tiny fibers, and all of it slowly collects on the grille, the fan and the heating element.
A dusty heater heats less efficiently, can give off a burning smell, may make rattling or humming noises, and in the worst case becomes a fire risk. The good news is that cleaning a portable electric heater is quick, cheap and easy once you know the right way to do it. This complete guide walks you through every step, explains how cleaning differs for ceramic, oil-filled and infrared heaters, and shows you the mistakes to avoid.
Quick Summary
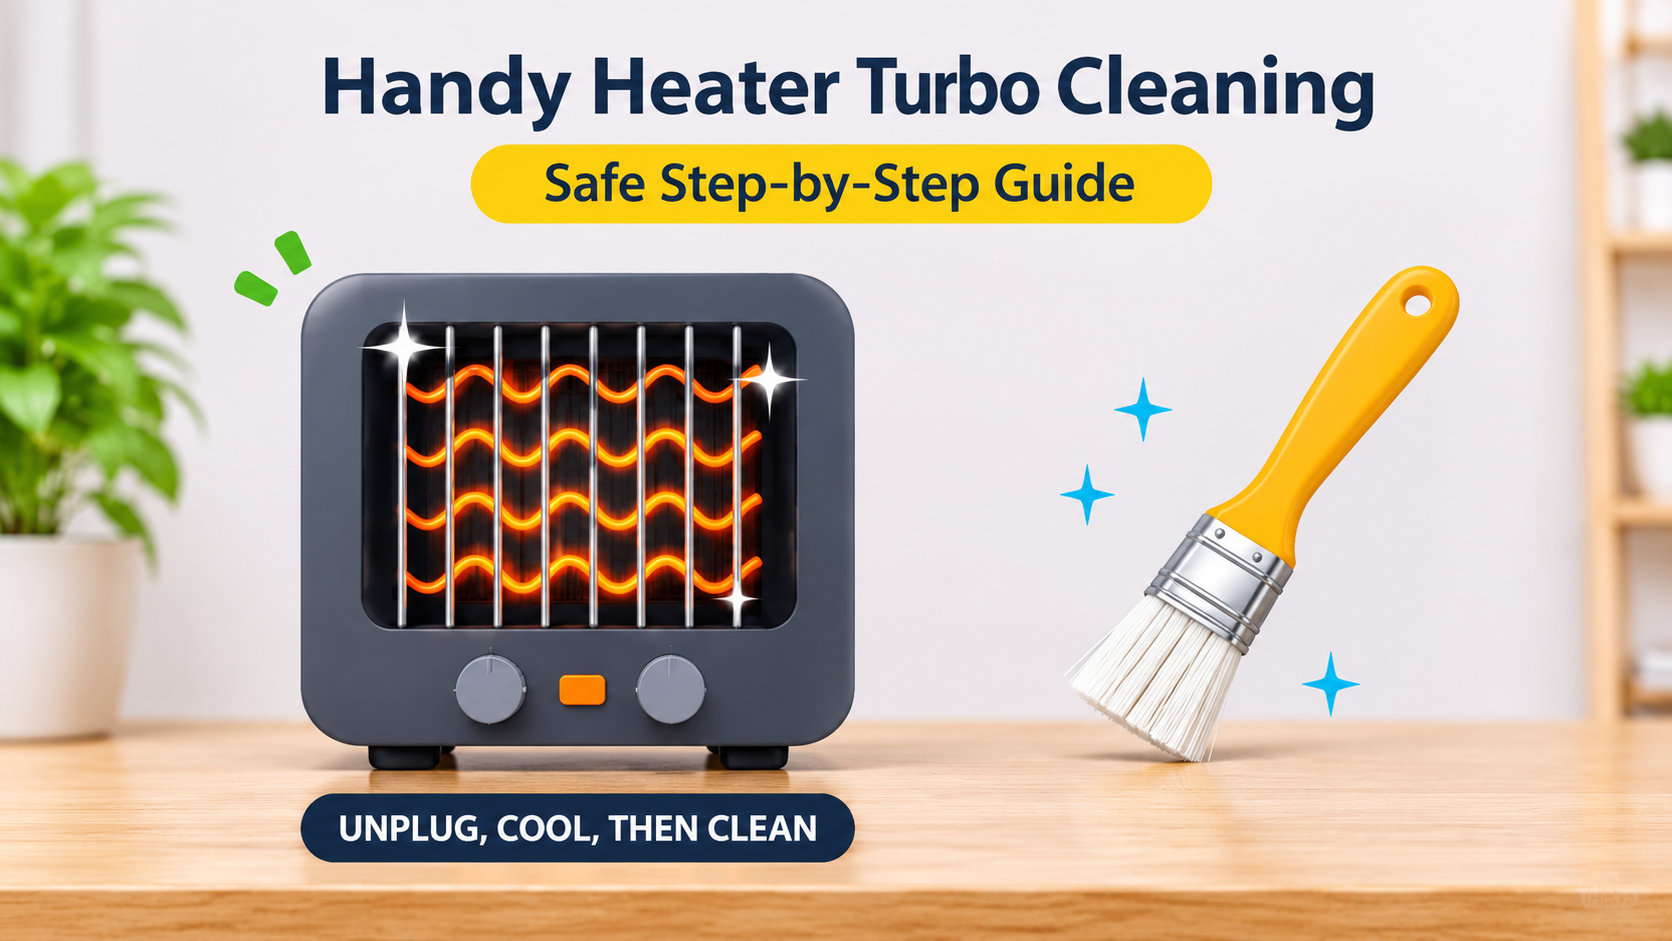
- Unplug the heater and let it cool for at least 30 minutes.
- Vacuum and brush dust from the grille, vents and filter.
- Wipe the outside with a slightly damp, well-wrung microfiber cloth.
- Never pour water on or inside the heater, and never plug it in while damp.
- Clean lightly every week and deeply once a month during heating season.
Why Cleaning Your Portable Electric Heater Matters
Many people clean their heater only when it starts to smell, but regular cleaning offers real benefits:
- Better heat output: Clear vents allow air to move freely, so the room warms up faster.
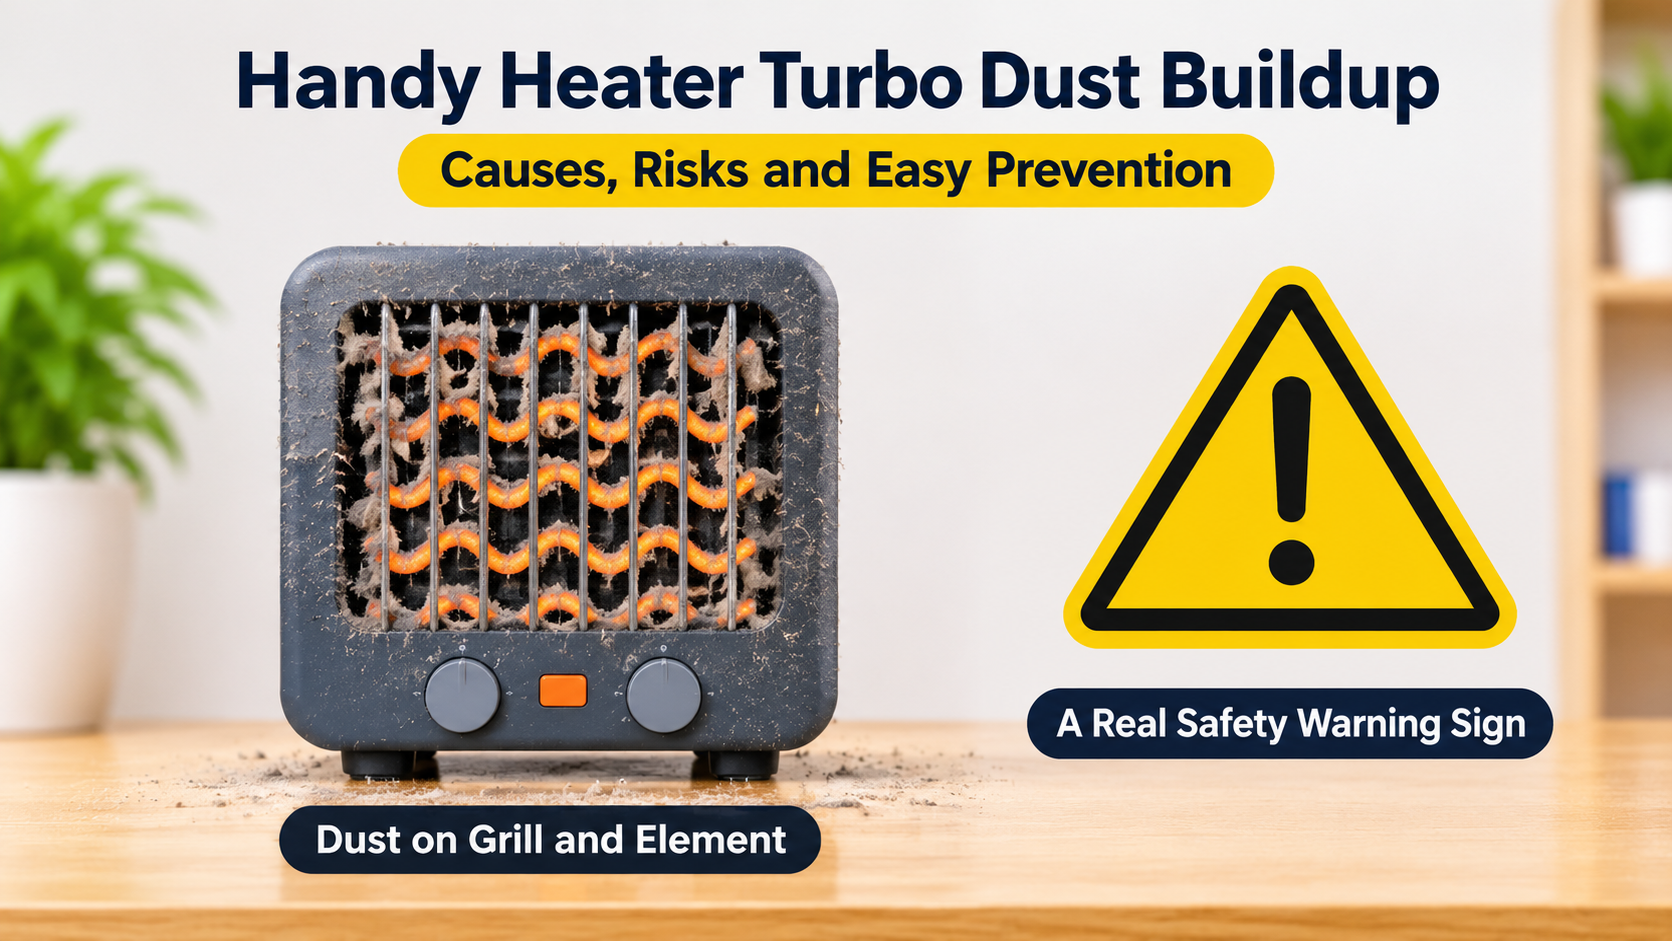
- Lower fire risk: Dust and lint are flammable. When they build up near a hot element, they can smoke or ignite.
- Fresher air: A dirty heater blows dust and allergens around the room, which is a problem for people with allergies or asthma.
- No burning smell: That familiar “toasted dust” odor is simply dust burning on the element. Cleaning removes the cause.
- Longer lifespan: Motors and fans work less hard and overheat less often when airflow is clear.
- Quieter operation: Dust on fan blades causes imbalance, which creates rattling and humming sounds.
Know Your Heater Type Before You Start
Not every portable heater is cleaned the same way. Check which type you own, then follow the matching tips later in this guide. If you are unsure, the model name on the back label or in the user manual will tell you.
| Heater Type | How It Heats | Cleaning Focus |
|---|---|---|
| Ceramic / fan-forced | A fan blows air across a hot ceramic element | Grille, fan blades, air filter, rear vents |
| Oil-filled radiator | Sealed oil is heated and warms the metal fins | Fins, body surface, controls (the oil is never touched) |
| Infrared / quartz | Glowing tubes radiate heat directly | Reflector, protective guard, tube surface (dry only) |
| Convection panel | Air rises over a heated panel and circulates naturally | Bottom and top slots, flat front panel |
Safety First: Before You Begin Cleaning

Electricity and moisture do not mix, so safety is the most important part of this job. Follow these rules every single time:
- Turn the heater off and unplug it from the wall. Do not rely on the power switch alone.
- Let it cool down completely. Wait at least 30 minutes after use. Metal parts and ceramic elements stay hot longer than you expect.
- Move it to a flat, well-lit, ventilated area such as a table, garage or balcony, where dust will not drift onto your furniture.
- Read the manual. It tells you which panels you may remove and which you should leave alone. Opening sealed parts can void the warranty.
- Keep every liquid away from the plug, the cord and the electrical openings.
Important: Never submerge a portable electric heater in water, never spray liquid directly into the vents, and never plug the heater back in until every part is completely dry.
What You Need to Clean a Portable Electric Heater

You do not need special products. Gather these items before you start:
- A vacuum cleaner with a soft brush attachment and a narrow crevice tool
- A soft, dry paintbrush or an old, clean makeup brush for tight slots
- Two or three microfiber cloths
- A small bowl of lukewarm water mixed with a few drops of mild dish soap
- Cotton swabs for corners and around the buttons
- Optional: a can of compressed air
- Optional: a screwdriver, only if your manual allows removing the back or filter cover
Know the Parts of Your Heater

Understanding the basic parts helps you clean confidently. Most portable heaters have a front grille (the air outlet), a heating element behind it, an air-intake area at the back or sides, a control panel with a dial or buttons, a power cord and plug, and a tip-over safety switch in the base. The heating element and the electrical components must stay dry at all times. Everything else on the outside can be cleaned with a damp cloth.
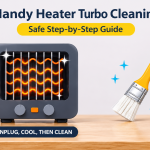
How to Clean a Portable Electric Heater: Step-by-Step
Step 1: Unplug and Cool Down
Switch the heater off, pull the plug from the socket and wait at least 30 minutes. Touch the grille lightly with the back of your hand to confirm it is cool before you continue.
Step 2: Do a Quick Inspection
Look over the whole heater before cleaning. Check the cord for cracks, frays or exposed wire, and check the plug for discoloration or melted spots. Look for cracks in the casing and loose parts. If you see any damage, stop and do not use the heater until it has been repaired or replaced.
Step 3: Remove Dust from the Grille and Vents

This is the most important step. Attach the brush tool to your vacuum and run it slowly over the front grille, then over the rear and side vents. Use the soft paintbrush to loosen dust stuck between the slots and vacuum it up as you go. For stubborn corners, give the vents short bursts of compressed air, holding the can upright and several inches away so nothing is forced deeper into the heater. Work from top to bottom so loosened dust falls downward.
Step 4: Clean or Replace the Air Filter (If Your Heater Has One)
Some models include a removable filter behind the rear panel. Slide it out and tap off loose dust. Vacuum it, then, if the manual says it is washable, rinse it under lukewarm running water with a drop of mild soap. Shake off excess water and let it air-dry completely, which usually takes 12 to 24 hours. Never refit a damp filter. If the filter is not washable or is badly worn, replace it with a new one made for your model.
Step 5: Clean the Fan Blades (Fan-Forced Models Only)
If your manual allows you to open the back cover, carefully remove it and wipe each fan blade with a dry or very slightly damp microfiber cloth. Do not bend the blades, and do not let the fan spin freely while you clean. If the heater cannot be opened safely, use the crevice tool and compressed air through the grille instead. Do not force open sealed housings.
Step 6: Wipe the Exterior
Dip a microfiber cloth in the soapy water and wring it out until it is barely damp. Wipe the body, the top, the base and the handle. Use cotton swabs to clean around the buttons and dial. Then go over every surface with a dry cloth to remove moisture. For sticky marks or fingerprints, a little extra soap on the cloth usually works; avoid abrasive pads and strong chemical cleaners, which can scratch or cloud the plastic.
Step 7: Clean the Cord and Plug
Wipe the cord with a dry or barely damp cloth, working from the heater toward the plug. Dry the plug and its metal prongs completely. Gently straighten any tight kinks, but never wrap the cord tightly around the heater while it is still warm.
Step 8: Dry, Reassemble and Test
Leave the heater to air-dry for at least an hour, longer if you washed a filter. When everything is bone-dry, refit any panels or filters you removed, plug the heater into a wall socket (not an extension cord), and run it on low for a few minutes. Listen for unusual noises and check there is no smoke or burning smell. A faint smell for the first minute or two may be leftover dust burning off, but it should disappear quickly.
Cleaning Tips for Each Type of Portable Heater
Ceramic and Fan-Forced Heaters
These models collect the most dust because they move the most air. Focus on the grille, rear intake and filter. Clean them more often if you have pets or use the heater every day. Never wash the ceramic element or pour water into the housing.
Oil-Filled Radiator Heaters
The oil inside is sealed in the factory and never needs topping up, cleaning or replacing, so do not open the reservoir. Simply wipe the fins and body with a damp cloth. A long, thin brush or a cloth wrapped around a ruler helps reach between the fins. Check the underside for any sign of oil leakage; if you find any, stop using the heater.
Infrared and Quartz Heaters
Wipe the reflector and the protective guard gently with a dry microfiber cloth. If the quartz tube needs cleaning, handle it with a clean cloth, because natural oils from bare fingers can leave marks that burn into the surface when heated. Keep these parts dry and avoid any moisture near the tube.
Convection and Panel Heaters
Vacuum the air slots at the top and bottom, then wipe the flat panel with a damp cloth and dry it straight away. Make sure the slots stay completely clear, because blocked air paths cause the panel to overheat and shut off.
How Often Should You Clean a Portable Electric Heater?

A simple routine is enough for most households:
- Weekly during heavy use: Vacuum the grille, wipe the outside with a dry cloth and check the cord.
- Monthly during heating season: Clean the filter, vents and exterior as described in the steps above.
- Before and after the season: Do a full deep clean so dust does not sit inside the heater for months.
- After dusty events: Clean right away after home renovations, sanding, or heavy pet shedding.
Common Mistakes to Avoid
- Using water or spray cleaner directly on the heater: Moisture inside can cause short circuits and electric shock.
- Cleaning while it is plugged in or still warm: This is the most dangerous mistake of all.
- Using flammable or aerosol cleaners: Vapors can ignite near a heating element.
- Poking sharp objects into the vents: You can bend the element or damage wiring.
- Forcing open sealed panels: This can break clips and void your warranty.
- Using the heater before it is fully dry: Wait longer if you are not sure.
- Ignoring the cord: A damaged cord is a serious hazard no matter how clean the heater is.
Troubleshooting: Problems After Cleaning
| Problem | Likely Cause | What to Do |
|---|---|---|
| Burning smell | Dust burning on the element, or leftover dust deeper inside | Switch off, unplug, clean the vents again. If the smell is strong or persists, stop using the heater |
| Weak heat | Blocked filter or vents | Clean or replace the filter, clear every vent |
| Rattling or humming | Dust on fan blades or a loose panel | Clean the fan blades, check that all panels are seated properly |
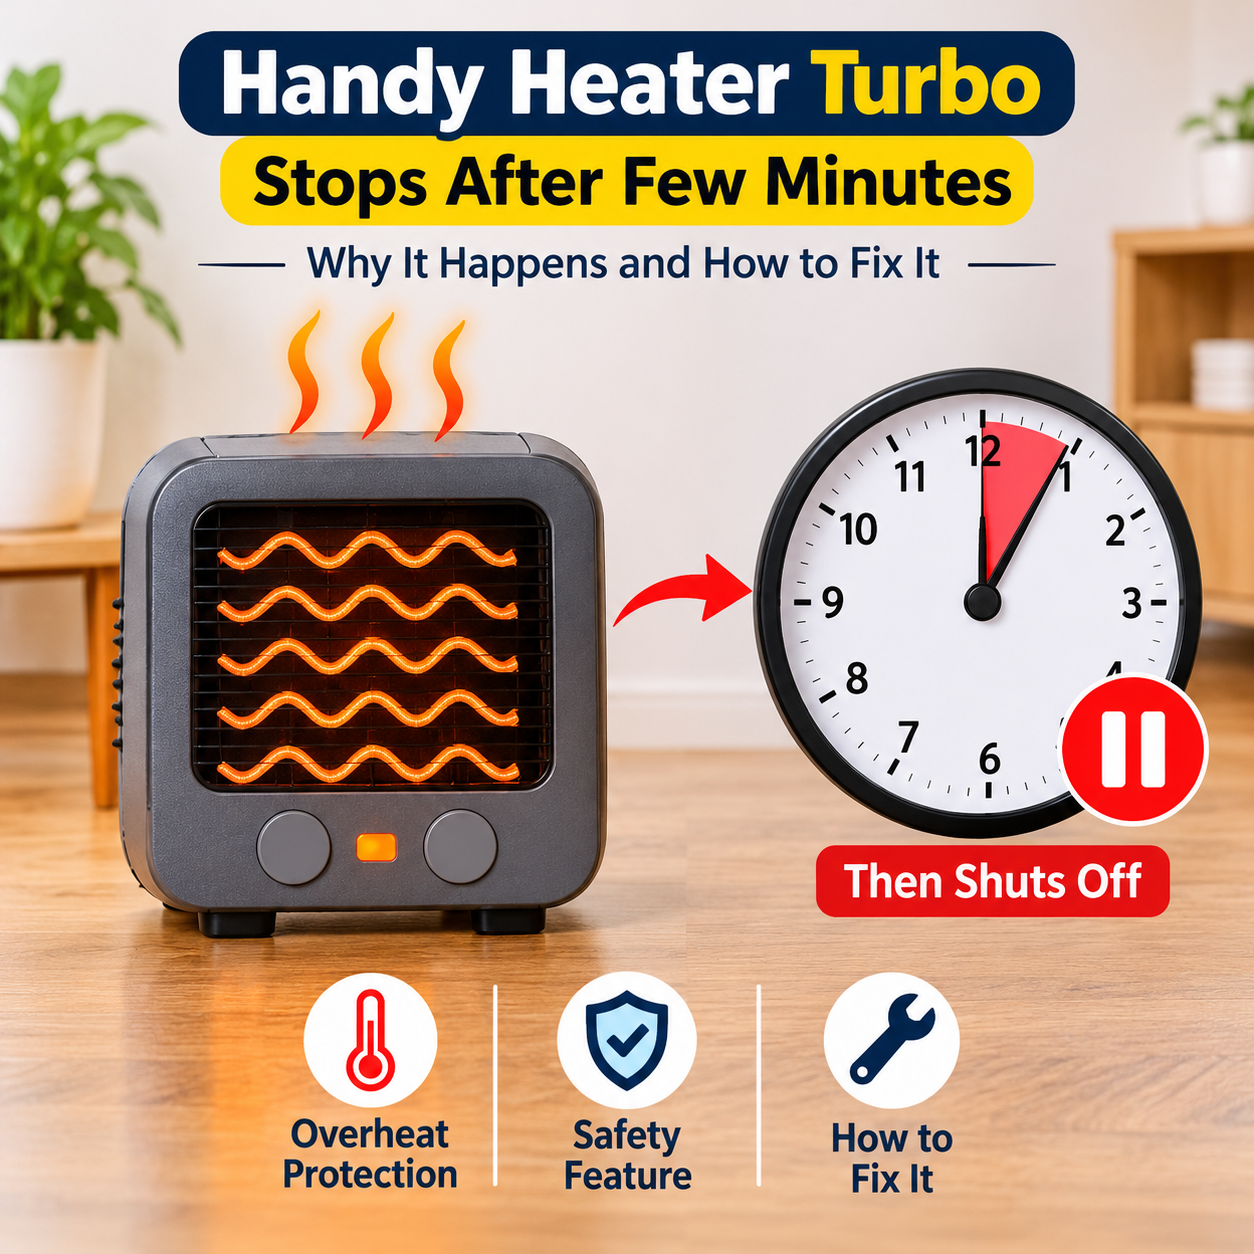
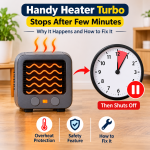
| Shuts off by itself | Overheat protection triggered by blocked airflow | Unplug, let it cool, clean thoroughly, then restart |
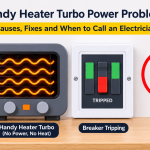
| Does not turn on | Dampness, tip-over switch not engaged, or electrical fault | Dry it completely, place it on a flat surface, and contact a qualified technician if it still fails |
How to Store Your Portable Heater After Winter
Proper storage keeps your heater clean until the next season. After a final deep clean and full drying, wrap the cord loosely, place the heater in its original box or a large bag to keep dust out, and store it in a cool, dry place away from damp walls and direct sunlight. Do not stack heavy items on top of it.
Choosing a Heater That Is Easy to Clean
If you are planning to buy a new portable heater, a few design features make maintenance far easier:
- Removable, washable filter: Saves time and keeps airflow strong.
- Smooth, simple exterior: Fewer grooves mean less dust collects and wiping is faster.
- Accessible grille and vents: Wide slots are easier to vacuum than very narrow ones.
- Tip-over and overheat protection: Essential safety features that also reduce risk when dust builds up.
- Sealed oil-filled design: Needs only an exterior wipe and no internal cleaning.
- Clear manual: Good instructions show exactly which parts are safe to remove.
Frequently Asked Questions
Can I use water to clean a portable electric heater?
Only on the outside, and only with a barely damp cloth. Water must never enter the vents, the controls or the heating element area. Always dry every surface before plugging the heater back in.
Why does my heater smell like burning when I turn it on?
The most common reason is dust that settled during storage or heavy use and is now burning off the hot element. A short, faint smell at the start of the season is normal. If the smell is strong, smells like melting plastic, or produces smoke, switch it off immediately, unplug it and have it checked.
Can I clean the inside of my heater?
You can clean the accessible areas, such as the filter, vents and, on some models, the fan after removing a cover that the manual allows you to open. Do not dismantle sealed housings or touch internal wiring. If the inside seems very dirty, consult a qualified technician.
Is it safe to use compressed air on a heater?
Yes, in short bursts and from a distance, keeping the can upright. Make sure the heater is unplugged and cool, because blowing dust deeper into the unit can make the problem worse. Following with a vacuum helps remove the loosened dust.
How often should I clean my portable electric heater?
Do a quick dust-off weekly while the heater is in daily use and a deeper clean once a month during the heating season. Add one thorough clean before storing it for summer.
Can I use disinfectant wipes or chemical cleaners?
Mild soap and water are usually all you need. Strong chemicals can damage plastic, strip markings and leave fumes that heat up when the heater runs. If you must disinfect the exterior, check the manual first and wipe the surface dry afterward.
Do oil-filled heaters need internal cleaning?
No. The oil is permanently sealed inside and should never be drained or replaced by the user. Only the outer surface needs cleaning.
Final Thoughts
Knowing how to clean a portable electric heater takes only a few minutes to learn and pays off all winter. Unplug it, let it cool, clear the dust from the grille, vents and filter, wipe the outside gently, and make sure everything is fully dry before you switch it back on. Combine this with a weekly dust-off and a monthly deep clean, and your heater will warm your room faster, run quieter, use energy more efficiently and stay much safer to use.
Make it part of your regular home routine, and you will enjoy dependable warmth every time the temperature drops.
Disclaimer: This guide offers general advice. Always follow the cleaning and safety instructions in your heater’s user manual, and contact the manufacturer or a qualified technician if you notice damage or unusual behavior.