Handy Heater Turbo Instructions: Setup, Controls, Safety and Care Explained
The Handy Heater Turbo comes with a short instruction manual, but many buyers misplace it, find the wording unclear or simply want a quicker explanation. If you are searching for Handy Heater Turbo instructions, this guide walks through everything a typical manual covers in plain English: what the heater is, its specifications, safe setup, how to operate the temperature and timer controls, the remote control on some versions, cleaning and storage, troubleshooting, and warranty tips.
Always treat your own printed manual as the final word, because buttons, display units and accessories can vary between versions and sellers. Use this article as a clear companion to it.
About the Handy Heater Turbo
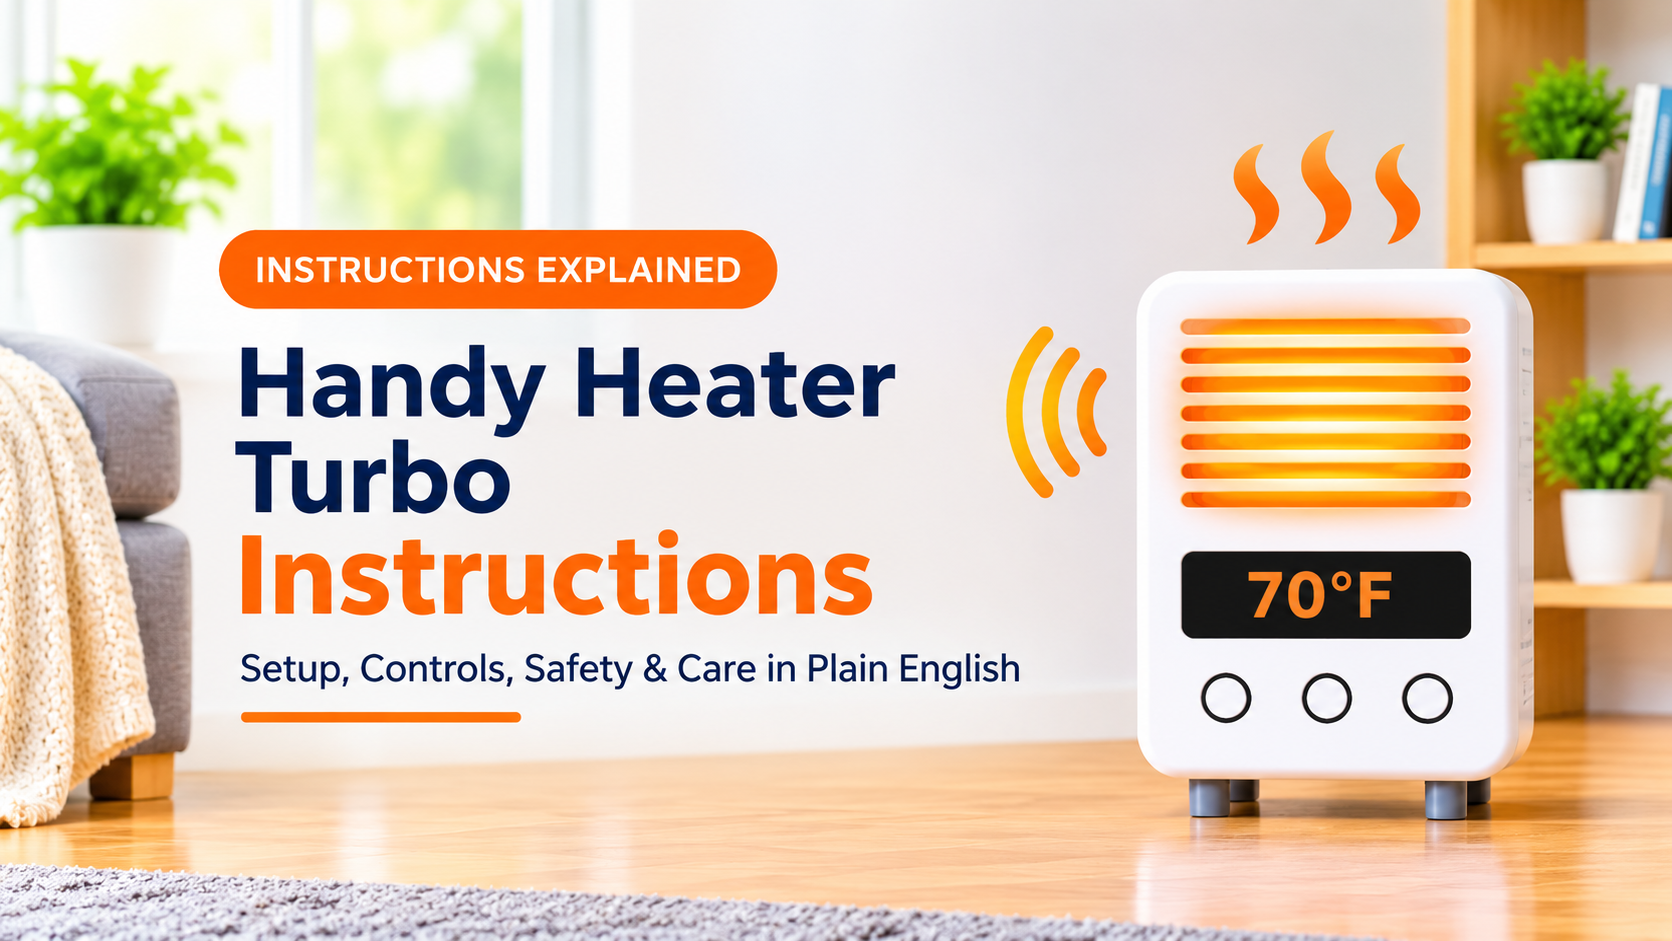
The Handy Heater Turbo, often sold as the Turbo 800 (a common model number is HEATTB-MC12/4), is a compact wall-outlet space heater with a ceramic heating element. It plugs directly into a standard outlet, so there is no power cord and no stand. According to the manufacturer’s manual and retailer listings, it offers an adjustable thermostat, a digital display, a programmable timer of up to 12 hours and automatic shut-off protection. It is designed for indoor use in small spaces such as a desk area, small bedroom or bathroom.
Specifications at a Glance

Dimensions are listed as roughly 5.5 inches tall, 4.9 inches wide and 3.5 inches deep, and the unit weighs about 1.2 pounds. Because it is light and small, it is easy to move, but it also means it is meant for limited, personal heating rather than warming a whole room.
Important Safety Instructions
The safety section of any heater manual is the most important part, and it should be read before you plug the unit in. The key points are below.

- Plug it directly into a wall outlet. Do not use extension cords, adapters or power strips.
- Use a firm, undamaged outlet. The heater hangs from the socket, so a loose or worn outlet is a real risk.
- Never cover the heater or block the air vents.
- Keep flammable items away, such as curtains, bedding, clothes, paper and furniture.
- Keep it away from water. Do not use it where it can get wet, and never touch it with wet hands.
- Supervise it. Do not leave it running unattended for long periods, and avoid using it while you sleep.
- Keep children and pets away from the heater.
- Do not open or modify the heater. Internal repairs should never be attempted at home.
- Stop using it at once if the plug or outlet feels very hot, if you smell burning, or if you see scorch marks or sparks.
Wall-outlet heaters put their full weight and electrical load on one socket. Consumer testing organizations have raised safety concerns about this style of heater in some markets, and in certain countries heaters with built-in plug pins are not permitted. Before you buy or use one, make sure it is approved for your country and fits your outlets properly.
Setup Instructions
- Unpack the heater and remove all packaging, including plastic wrap and protective film.
- Inspect it for damage, especially the plug pins and the vents.
- Choose a location in a small, dry room with clear space around the outlet.
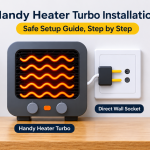
- Plug it in firmly, pushing it fully into the outlet so it sits flush and does not wobble.
- Expect a mild smell the first time you use it. New heating elements can briefly give off an odor. If it smells strongly of burning plastic, unplug it and stop using it.
Operating Instructions
Turning the Heater On and Off
Press the power button to turn the heater on. The digital display lights up. Press it again to turn the heater off, and unplug the heater when you are finished using it.
Setting the Temperature
Use the plus (+) and minus (−) buttons to choose your desired temperature between 60°F and 90°F (about 18°C to 32°C). The heater then cycles on and off automatically to keep the room close to that temperature. If you set the temperature lower than the current room temperature, the heater will not produce heat, which is normal. For many small rooms, 68–72°F (20–22°C) is a comfortable starting point.
Setting the Timer
Press the timer button, then use the plus and minus buttons to choose the run time, up to 12 hours. When the time ends, the heater turns itself off. Manuals note that you may need to set the temperature and timer again after a power outage or if the heater has been unplugged.
Display in Celsius or Fahrenheit
Some units show the temperature in Celsius, and several buyers say the instructions do not clearly explain how to switch to Fahrenheit. If your display shows Celsius, check the manual for your exact version. In the meantime, remember that 68–72°F is about 20–22°C.
Using the Remote Control (Some Versions)
If your package includes a remote control, it generally lets you switch the heater on and off, change the temperature and set the timer from across the room. Insert fresh batteries if needed, and point the remote at the heater. If your version does not include a remote, all functions are available on the control panel.
Quick Instructions Cheat Sheet

Cleaning and Maintenance Instructions
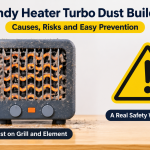
Dust is a common cause of poor performance and overheating. A little routine care keeps the heater working better and more safely.
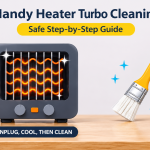
- Always unplug the heater and let it cool completely before cleaning.
- Brush the vents every few weeks during the heating season, using a soft brush or a vacuum with a brush attachment.
- Wipe the outside with a slightly damp cloth, then let it dry fully before using it again.
- Never use water, sprays or abrasive cleaners inside the heater or on the controls.
- Check the plug and outlet regularly for discoloration, looseness or damage.
Storage Instructions

At the end of the heating season, clean the heater, make sure it is completely dry and store it in a clean, dry place, ideally in its original packaging or a box that protects the plug pins. Keep the manual and your receipt together so that they are easy to find if you need to make a warranty claim.
Troubleshooting Based on the Instructions
| Problem | Possible Cause | What to Do |
|---|---|---|
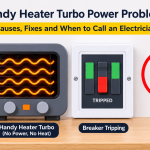
| Heater will not turn on | Loose plug or no power at the outlet | Reseat the plug, try another outlet, check the breaker |
| No heat is produced | Set temperature is below the room temperature | Raise the set temperature |
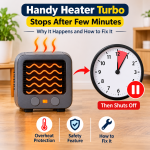
| Heater shuts off unexpectedly | Timer ended, target reached, dusty vents or overheat protection | Check the timer, clean the vents, clear the surrounding area |
| Display is blank or buttons do not respond | Temporary control glitch | Unplug for about 10 minutes, then plug in again |
| Settings disappear | Power interruption or unplugging | Set the temperature and timer again |
| Plug is hot or there is a burning smell | Possible electrical or outlet fault | Unplug and stop using the heater immediately |
Warranty and Support
Warranty terms depend on the seller and the region. The manufacturer’s manual refers to a warranty, and some retailers list a limited warranty on their own pages. Check your purchase paperwork and the packaging for the exact terms, and keep your order number and receipt. If the heater stops working, contact the seller or manufacturer support with a clear description of the problem. Do not open the heater, because this can be dangerous and may cancel any warranty.
What If You Lost the Manual?
If your instruction booklet is missing, look for the model number on the heater or its packaging, then search for that number with the word “manual” to find the official instructions. You can also ask the seller for a copy. In the meantime, the steps in this guide cover the common features, but remember to check them against your own unit.
Is the Handy Heater Turbo Right for You?
A small plug-in heater can be a convenient way to warm a compact personal space. It is light, easy to operate and takes up no floor space. It is also a low-power unit, so it will not heat a large or drafty room. Reviews for this type of low-cost heater are mixed, with some owners happy with the convenience and others reporting weak heat or reliability problems. Weigh the safety points above carefully, and if you need stronger or more stable heating, consider a heater with a power cord, a base and a higher wattage.
Frequently Asked Questions
Where can I find the Handy Heater Turbo instruction manual?
It should be in the box with the heater. If you cannot find it, use the model number printed on the unit or packaging to search for the official manual, or ask the seller for a copy.
How do I set the temperature on the Handy Heater Turbo?
Turn the heater on, then use the plus and minus buttons to choose a temperature between 60°F and 90°F. Make sure it is set higher than the current room temperature so the heater switches on.
How do I use the timer?
Press the timer button and use the plus and minus buttons to choose the run time, up to 12 hours. The heater turns itself off when the time ends.
Why does my heater show Celsius?
Some versions are sold with a Celsius display, and the method of switching units can vary. Check the manual for your version, or convert using the rule that 70°F is about 21°C.
Can I use the heater with an extension cord?
No. The instructions for plug-in heaters like this call for plugging directly into a wall outlet.
Is it safe to leave it on all night?
It is better not to. Space heater safety guidance generally advises against leaving heaters running unattended or while you sleep. Use the timer for short periods and unplug the heater when you are done.
What should I do if the heater smells like burning?
Unplug it immediately, let it cool and stop using it. A mild odor on first use can happen, but a strong burning smell, a very hot plug or scorch marks are signs of a problem. Contact the seller about a replacement.
Final Thoughts
The Handy Heater Turbo instructions come down to a few clear rules: plug it straight into a good outlet, set the temperature above the room temperature, use the timer, keep the area clear, clean the vents regularly and stop using the heater at the first sign of a hot plug or burning smell. Follow your own manual, use realistic expectations for a small 800-watt heater, and you can keep a small space comfortable more safely during the colder months.